
DIY Car Wrapping: Tips and Tricks from the Pros


Understanding the Basics of Car Wrapping
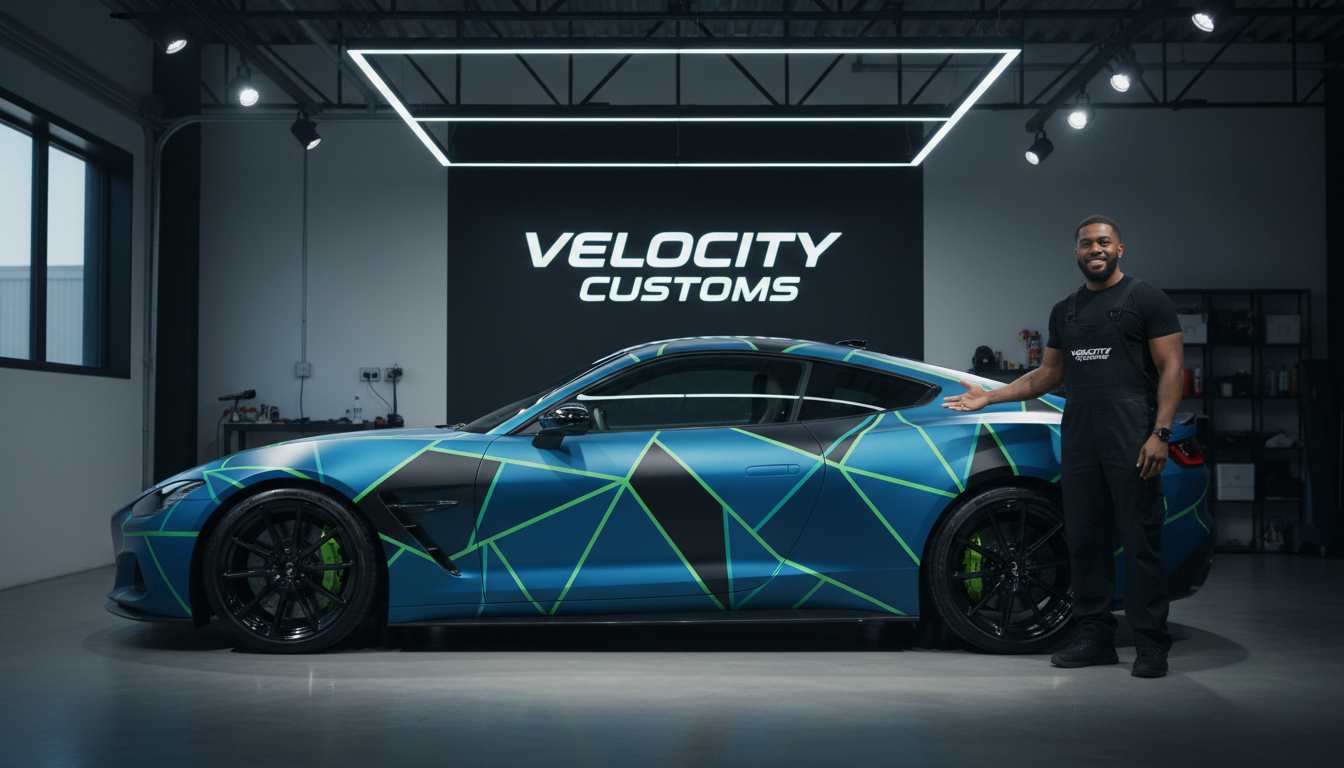
Car wrapping is an increasingly popular way to customize your vehicle's appearance without committing to a permanent paint job. By applying a vinyl wrap, you can change your car's color, add unique designs, or even promote a business. It's a cost-effective and reversible solution that can yield professional-looking results if done correctly.
Before diving into the DIY process, it's essential to understand what car wrapping entails. The process involves covering the vehicle's surface with a thin, adhesive-backed vinyl film. This requires precision and patience, as a poorly applied wrap can result in bubbles, wrinkles, or misalignment.
Gathering the Right Tools and Materials
Having the proper tools is crucial for a successful DIY car wrap. Here’s a list of essentials:
- Vinyl Wrap: Choose high-quality vinyl for durability and ease of application.
- Squeegee: Helps in smoothing out the vinyl and removing air bubbles.
- Heat Gun: Used to stretch the vinyl and ensure a snug fit around curves.
- Utility Knife: For trimming excess vinyl.
- Cleaning Supplies: To thoroughly clean the car’s surface before application.
Each tool plays a critical role in the application process. Investing in quality tools can make the project more manageable and lead to better results.
Preparing Your Vehicle
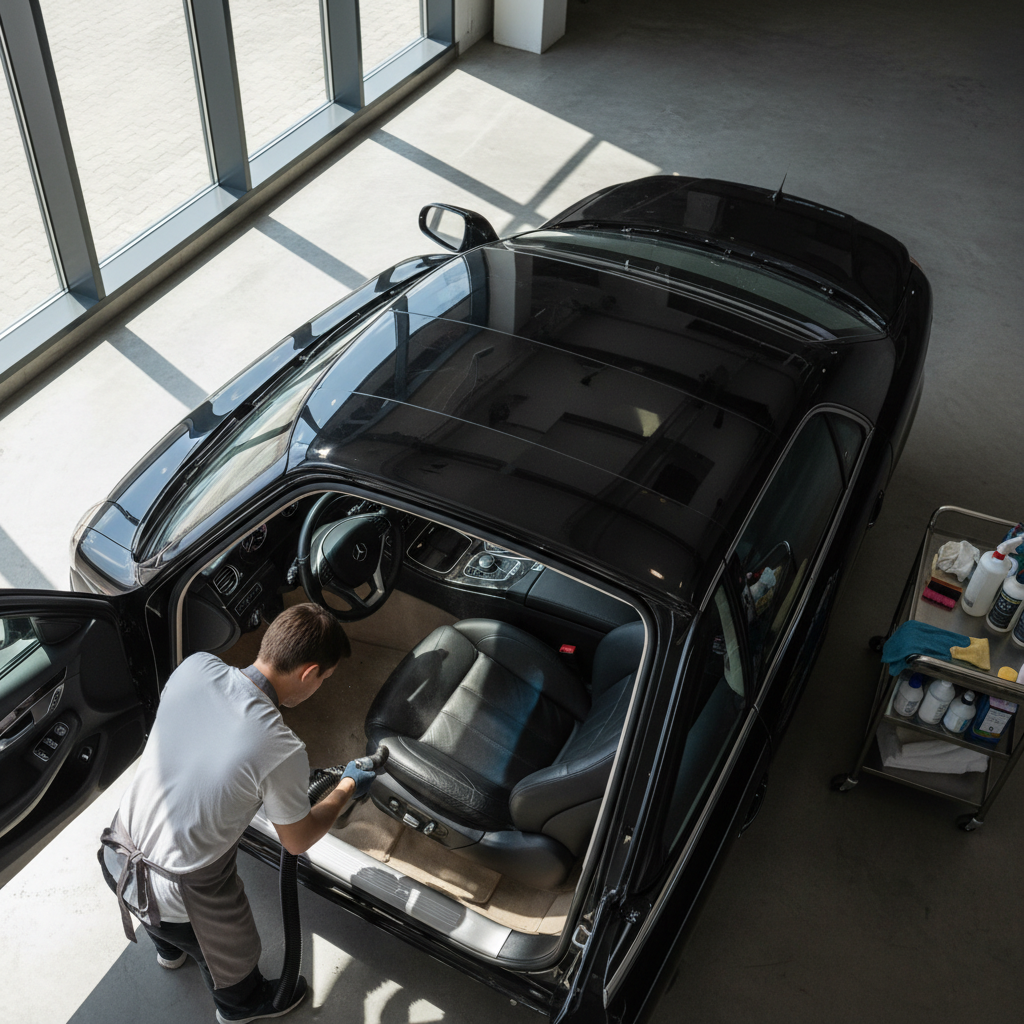
Preparation is a crucial step in car wrapping. Start by cleaning your vehicle thoroughly to remove dirt, wax, and grease. A clean surface ensures the vinyl adheres properly and lasts longer. Pay special attention to seams and edges where dirt can accumulate.
Once cleaned, inspect the car for any damage or imperfections. Repairing dents and scratches before applying the wrap will result in a smoother finish. It's also a good idea to remove any parts like mirrors or handles that might interfere with the application.
Application Techniques
When it comes to applying the vinyl, patience and precision are your best friends. Begin by aligning the vinyl on the surface, ensuring there is enough excess to cover edges and curves. Use the squeegee to press the vinyl onto the car, starting from the center and working your way outwards to push out air bubbles.
If you encounter complex curves or contours, use a heat gun to gently warm the vinyl, making it more pliable. Be careful not to overheat, as this can cause the vinyl to warp or tear. Once the vinyl is in place, trim any excess with a utility knife, being precise to avoid cutting into the car’s paint.
Finishing Touches and Maintenance
After application, inspect the wrap for any remaining air bubbles or creases. These can often be smoothed out with a squeegee or by carefully applying heat. It's important to allow the vinyl to set properly, usually over a period of 24-48 hours, before exposing the car to extreme conditions like car washes or harsh weather.
To maintain the wrap, clean it regularly with a mild soap and water solution. Avoid abrasive cleaners or brushes that could damage the vinyl. With proper care, a high-quality car wrap can last between five to seven years, providing a long-term solution for your customization needs.
Common Mistakes to Avoid
Even with the best preparation, mistakes can happen. Here are common pitfalls to watch out for:
- Skipping the Cleaning Process: A dirty surface can lead to poor adhesion and premature peeling.
- Rushing the Application: Take your time to ensure accuracy, especially around edges and contours.
- Ignoring Post-Application Care: Proper maintenance extends the life of your wrap significantly.
By avoiding these mistakes and following the tips above, you can achieve a professional-looking car wrap at a fraction of the cost.